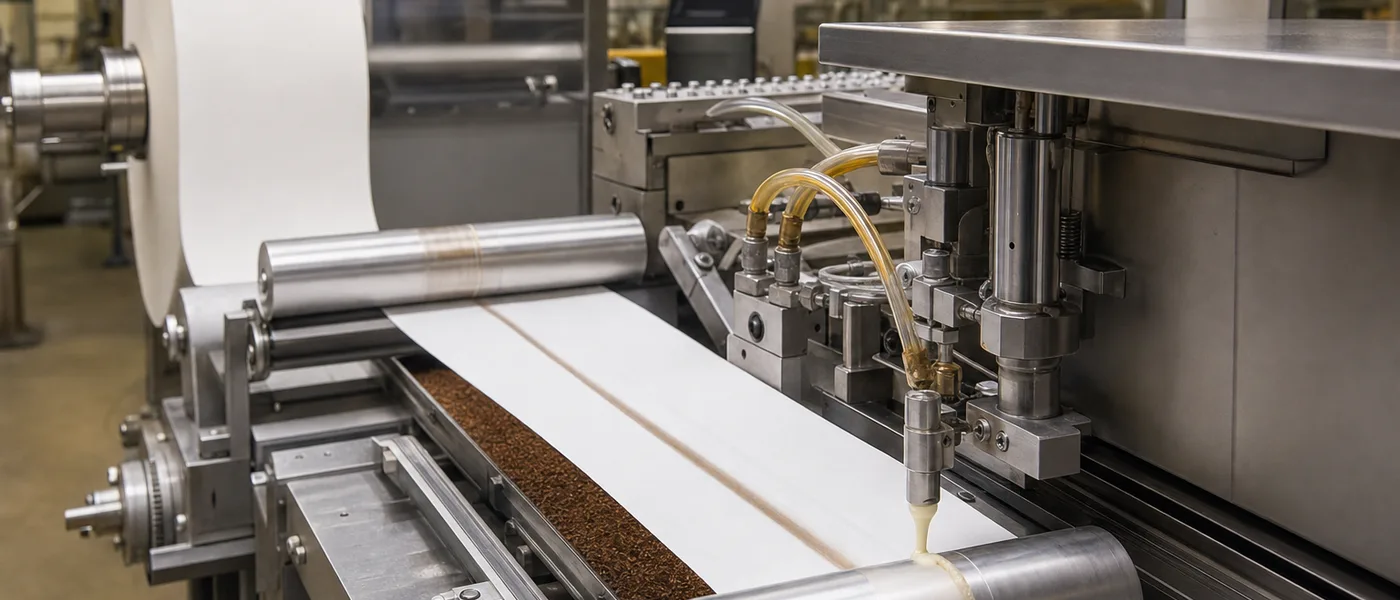
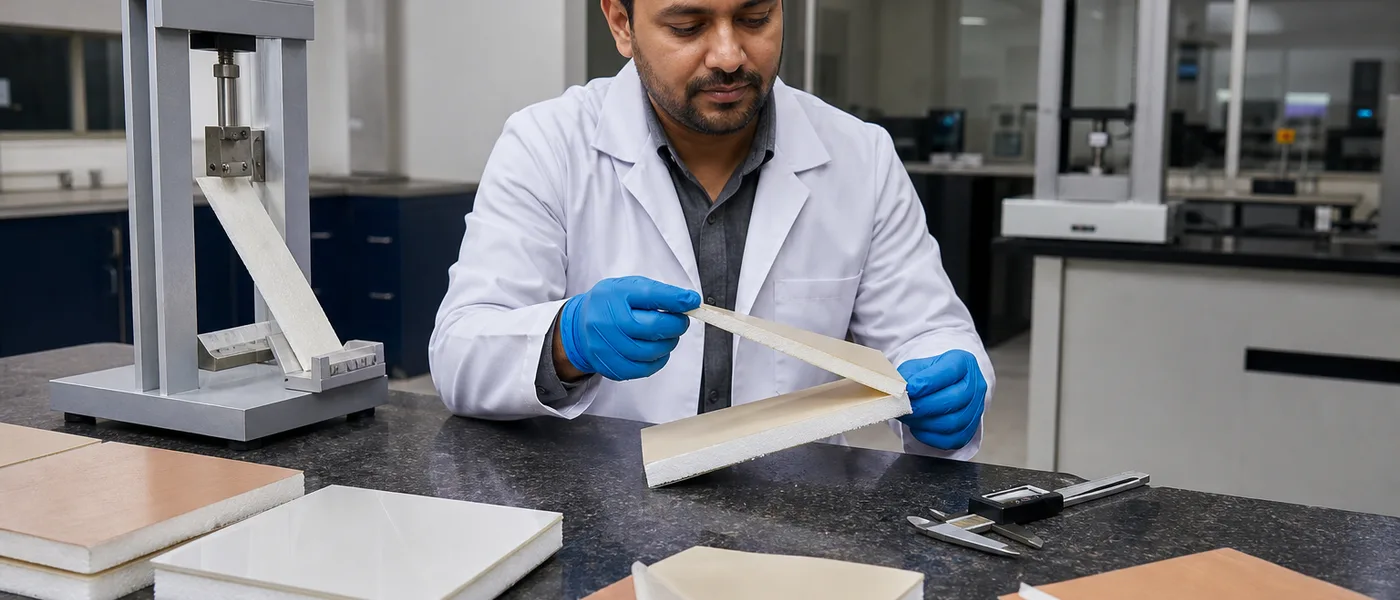
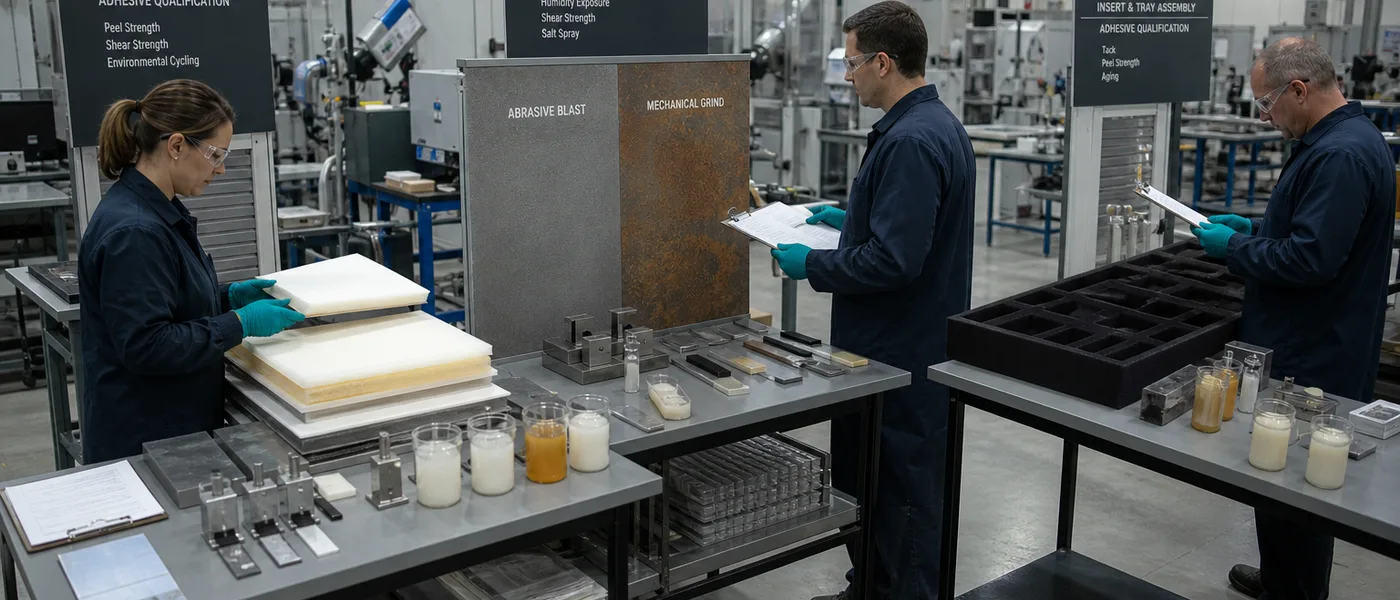
Flocking adhesive qualification should confirm fiber type, fiber length, denier, laydown method, substrate preparation, adhesive coat weight, cure schedule, brushing discipline, post-handling shedding, and visual uniformity before bulk approval. A reliable trial should test the real fiber, real substrate, real application method, and real cure window instead of judging adhesive performance from lab data alone.
Table of Contents
- ·Why Flocking Adhesive Qualification Must Start With the Finished Surface
- ·Fiber Type, Length, Denier, and Conductivity
- ·Substrate Match: Board, Plastic, Rubber, Foam, and Metal
- ·Surface Preparation Before Adhesive Laydown
- ·Adhesive Laydown and Coat Weight Control
- ·Electrostatic and Mechanical Flock Transfer
- ·Open Time and Working Window
- ·Cure Schedule, Drying, and Brushing Discipline
- ·Shedding, Abrasion, and Post-Handling Retention
- ·Humidity, Storage, and Environmental Conditions
- ·Odor, Cleanup, and Production Practicality
- ·Supplier Documents and Buyer Review
- ·Common Flocking Failure Modes and First Checks
- ·Qualification Trial Record for Plant Approval
- ·Field Evidence
- ·Final Takeaway
- ·Frequently Asked Questions
Why Flocking Adhesive Qualification Must Start With the Finished Surface
Flocking failures are easy to see. A patchy panel, shiny bald zone, rough edge, stiff hand-feel, loose fibers on the packing table, or uneven color field can make a part look unfinished. In many production teams, the first reaction is to blame the flock fiber. Fiber quality matters, of course, but poor flocking results often come from a mismatch between fiber, adhesive, substrate, laydown method, cure window, and brushing process.
A flocking adhesive should not be qualified only by viscosity, solids, or a small coupon test. Those data points are useful, but they do not prove that the adhesive will hold fiber under real process conditions. The real question is whether the adhesive can receive the fiber, anchor it at the right depth, cure without becoming too brittle or too soft, and retain the flock after brushing, trimming, handling, packing, and customer use.
For industrial buyers, the risk is not limited to appearance. Poor flock retention can create scrap, rework, customer complaints, cleaning problems, and unstable line output. A flocked tray, packaging insert, automotive part, display component, rubber profile, plastic housing, or board-based part may all need a different qualification approach. For a broader process baseline, review the industrial adhesive qualification checklist.
A practical qualification process should answer these questions:
| Qualification Question | Why It Matters |
|---|---|
| Does the adhesive match the fiber type and length? | Fiber geometry affects anchorage, hand-feel, and shedding |
| Does the adhesive wet the substrate properly? | Poor wetting can cause bald areas or weak fiber hold |
| Is the coat weight controlled? | Too little adhesive causes low retention; too much can bury fiber |
| Is the laydown method repeatable? | Spray, roller, screen, and mechanical methods create different film profiles |
| Is the cure window realistic? | Brushing too early or curing too harshly can cause shedding or brittleness |
| Does the part pass handling review? | Visual coverage alone is not enough for production approval |
The goal is not to claim that one adhesive works on every substrate. The goal is to define the process window where the adhesive, fiber, surface, and curing conditions work together.
Fiber Type, Length, Denier, and Conductivity
Flock fiber selection has a direct effect on adhesive qualification. Nylon, rayon, polyester, and other fiber types can differ in stiffness, surface behavior, moisture response, electrostatic transfer, and final hand-feel. Even when two fibers look similar, they may not behave the same in the booth or after brushing.
Fiber length is one of the first details to confirm. Short fibers may create a smoother, denser visual field, but they can also require careful adhesive depth control. Longer fibers may give a richer surface or deeper texture, but they can be more sensitive to laydown uniformity and brushing. If the adhesive film is too shallow, longer fibers may not anchor well. If the film is too heavy, fibers may sink or lean, reducing visual uniformity.
Denier also matters. Finer fibers can create a softer surface, while heavier fibers may change coverage, texture, and retention behavior. A change in denier can shift the adhesive demand even when the fiber length remains the same.
For electrostatic flocking, conductivity and charge behavior are important. The fiber must transfer correctly in the booth and orient toward the adhesive-coated surface. If the fiber does not charge or transfer consistently, the finished part may show light zones, uneven density, or poor edge definition. These issues should not be solved only by adding more flock. Extra flock cannot fully correct poor adhesive laydown, weak grounding, surface contamination, or wrong booth settings.
Before adhesive approval, record:
- Fiber type
- Fiber supplier and grade
- Fiber length
- Denier
- Fiber color
- Conductivity or electrostatic suitability, if used
- Storage condition
- Humidity exposure before trial
- Any fiber treatment or finish that may affect bonding
A supplier change, fiber length change, denier change, or color change should trigger a review. Dark fibers, light fibers, and specialty colors may show defects differently, so appearance approval should be based on the actual production fiber.
Substrate Match: Board, Plastic, Rubber, Foam, and Metal
The same flocking adhesive may behave very differently on different substrates. This is why qualification must include the actual production substrate, not a generic test panel.
Board and paper-based substrates are often absorbent. They may pull liquid from the adhesive and shorten open time. Loose fibers, dust, or weak surface layers can reduce anchorage. Coated board may behave differently from uncoated board because the adhesive may sit closer to the surface.
Plastic substrates create another challenge. Many plastics have low surface energy or may contain mold release residue, processing aids, or surface contamination. A flocking adhesive may look wet during application but still fail to anchor if the surface is not properly prepared. ABS, PVC, PP, PE, and other plastics should not be treated as interchangeable.
Rubber substrates can be difficult because of surface bloom, waxes, plasticizers, processing oils, or flexible movement after bonding. A rubber part may pass an early visual inspection but shed after flexing or abrasion. In these cases, substrate cleaning and adhesive flexibility are both important.
Foam substrates may absorb adhesive into pores, causing uneven coat weight and low surface anchorage. Too much adhesive may stiffen the foam or change compression behavior. Metal substrates may need cleaning, degreasing, abrasion, or primer depending on the surface condition and expected use.
A practical substrate review should include:
| Substrate | Key Risk | What to Confirm |
|---|---|---|
| Board or paperboard | Absorption, dust, weak surface fibers | Surface cleanliness, coat weight, open time |
| Coated board | Poor wetting or slow drying | Surface compatibility and cure schedule |
| ABS/PVC plastic | Surface contamination or variable wetting | Cleaning method and surface energy |
| PP/PE plastic | Low surface energy | Primer, corona, flame, or other treatment if required |
| Rubber | Bloom, oils, flexibility, migration | Cleaning, primer need, flex behavior |
| Foam | Adhesive sink-in, stiffness change | Coat weight and compression feel |
| Metal | Oil, oxidation, smooth surface | Degreasing, abrasion, or primer review |
The best qualification result is tied to a named substrate, surface preparation method, and process condition. Avoid approving a flocking adhesive for “plastic” or “rubber” in general without testing the exact material.
Patchy Flock or Fiber Shedding?
Review flocking adhesive grades for inserts, plastics, rubber profiles, and display components.
Flocking Adhesive SolutionsSurface Preparation Before Adhesive Laydown
Surface preparation can decide whether a flocked part passes or fails. A strong adhesive cannot perform well if it is applied over dust, oil, mold release, weak surface fibers, moisture, or surface contamination.
For board and paper-based substrates, dust control is important. Cutting, routing, die-cutting, and handling can leave debris on the surface. If dust sits between the substrate and adhesive, the flock may appear attached at first but release during brushing or handling.
For plastics, the team should review surface energy and contamination. Some plastics may need cleaning, primer, corona treatment, flame treatment, plasma treatment, or another approved surface activation method. The correct method depends on the plastic type, part shape, production volume, and customer requirement.
For rubber, cleaning must account for surface bloom or processing residue. A quick wipe may not be enough if oils or waxes continue to migrate. For metal, degreasing and surface condition should be checked before adhesive laydown.
A good trial record should state exactly how the substrate was prepared. “Cleaned before flocking” is too vague. Record the cleaning agent, drying time, treatment method, operator steps, and time between treatment and adhesive application.
Useful surface-prep records include:
| Record Item | Example Detail to Capture |
|---|---|
| Cleaning method | Wipe, wash, air blow, vacuum, solvent cleaning |
| Surface treatment | Primer, corona, flame, plasma, abrasion, or none |
| Drying time | Time after cleaning or treatment before adhesive |
| Handling control | Gloves, covered trays, dust protection |
| Surface check | Visual inspection, dyne test, internal wetting test if used |
| Time limit | Maximum time allowed between treatment and flocking |
A surface treatment that works in the lab may fail on the line if timing, humidity, or handling changes. For this reason, surface preparation should be part of the adhesive qualification, not a separate afterthought.
Adhesive Laydown and Coat Weight Control
Adhesive laydown is one of the strongest predictors of flocking success. If the adhesive film is too thin, fibers may not anchor deeply enough. If the film is too thick, fibers may sink, lean, clump, or create a harsh surface. Uneven laydown can create patchy density, shiny bald zones, rough edges, and inconsistent shedding performance.
Different application methods create different risks. Spray application can cover complex shapes, but it needs control of spray pattern, gun distance, atomization, overlap, and edge definition. Roller application can give stable coverage on flat parts, but it may struggle with recesses, corners, or three-dimensional shapes. Screen application can control pattern and thickness, but screen selection and viscosity must be matched. Manual application can work for prototypes, but it may not represent production repeatability.
The qualification trial should define the target coat weight or wet film thickness where possible. If the plant does not measure coat weight directly, it should still record application settings and part weight before and after adhesive application. The goal is to compare results fairly and avoid approving a sample that cannot be repeated.
Key laydown checks include:
| Laydown Factor | What to Watch |
|---|---|
| Film thickness | Low coverage, fiber sink, rough feel, slow cure |
| Edge definition | Fuzzy borders, light edges, adhesive skips |
| Pattern consistency | Uneven flock density across the part |
| Pot life or working time | Viscosity drift during the shift |
| Spray path or roller path | Streaks, overlap marks, missed zones |
| Adhesive temperature | Viscosity and transfer changes |
| Line speed | Open time and film leveling changes |
Do not compensate for weak adhesive coverage only by adding more flock. Extra flock may hide a defect for a moment, but it does not solve poor film formation or weak substrate anchorage.
Electrostatic and Mechanical Flock Transfer
Flock can be applied by electrostatic methods, mechanical methods, or a combination of both. Each method creates different qualification needs.
Electrostatic flocking relies on controlled transfer and fiber orientation. Grounding, voltage, fiber feed rate, humidity, booth cleanliness, part geometry, and adhesive wetness can all affect how fibers land in the adhesive. If the electrostatic field is unstable, fibers may land unevenly or fail to stand correctly. This can create patchy coverage, weak density, or poor hand-feel.
Mechanical flocking may depend more on vibration, gravity, airflow, brushing, or part movement. It may be suitable for certain shapes or production setups, but adhesive film uniformity remains critical. If the adhesive is already skinned over, too dry, or uneven before fiber contact, retention will suffer.
Complex shapes require extra attention. Recessed trays, deep cavities, sharp corners, raised ribs, molded housings, and rubber profiles may all show uneven transfer. Corners may get too much fiber or too little adhesive. Deep areas may receive less fiber. Edges may dry faster than flat zones.
During transfer qualification, record:
- Flock application method
- Booth settings, if electrostatic
- Grounding condition
- Humidity and temperature
- Fiber feed rate
- Part orientation
- Distance between applicator and part
- Time from adhesive laydown to flock application
- Visual density before cure
- Edge and cavity coverage
A good flocked surface should be judged across the full part, not only in the easiest central area.
Open Time and Working Window
Open time is the period when the adhesive can still receive and anchor flock effectively. It is affected by adhesive chemistry, coat weight, temperature, humidity, airflow, substrate absorption, and the time between adhesive application and flock transfer.
If the adhesive is too wet when flock is applied, fibers may fall, lean, clump, or sink. If the adhesive is too dry, fibers may not anchor deeply enough and may shed during brushing. The correct window is usually specific to the adhesive, fiber, substrate, and line setup.
Plant teams should define a practical working window during qualification. This is especially important when parts are coated in batches before flocking. The first part and the last part in the batch may not have the same open time. A trial that only checks one part may miss this variation.
Useful open-time checks include:
| Open-Time Check | Why It Matters |
|---|---|
| Minimum time before flocking | Confirms the adhesive is not too wet or mobile |
| Maximum time before flocking | Confirms the adhesive has not skinned or dried too far |
| Batch size | Shows whether all parts stay within the working window |
| Airflow | Can dry edges faster than the center |
| Substrate absorption | Can shorten the effective open time |
| Temperature and humidity | Can shift wetness, tack, and drying rate |
The approval record should state the observed working range, not just that the adhesive “worked.” This helps production maintain the result after scale-up.
Cure Schedule, Drying, and Brushing Discipline
Cure and drying discipline are central to flock retention. A part may look good right after flocking but fail after brushing if the adhesive has not developed enough strength. Premature brushing can pull out rooted fibers and create shedding that looks like fiber weakness.
The cure schedule should be matched to the adhesive, substrate, fiber, and part design. Air drying, oven drying, heat-assisted curing, and staged drying can all produce different results. Temperature and time should be recorded. So should part spacing, airflow, and stack condition.
Over-curing can also create problems. A film that becomes too hard or brittle may feel harsh, crack under flexing, or release fibers during abrasion. A film that remains too soft may hold loose particles, collect dust, or shed during handling. The correct cure window balances anchorage, flexibility, hand-feel, and production speed.
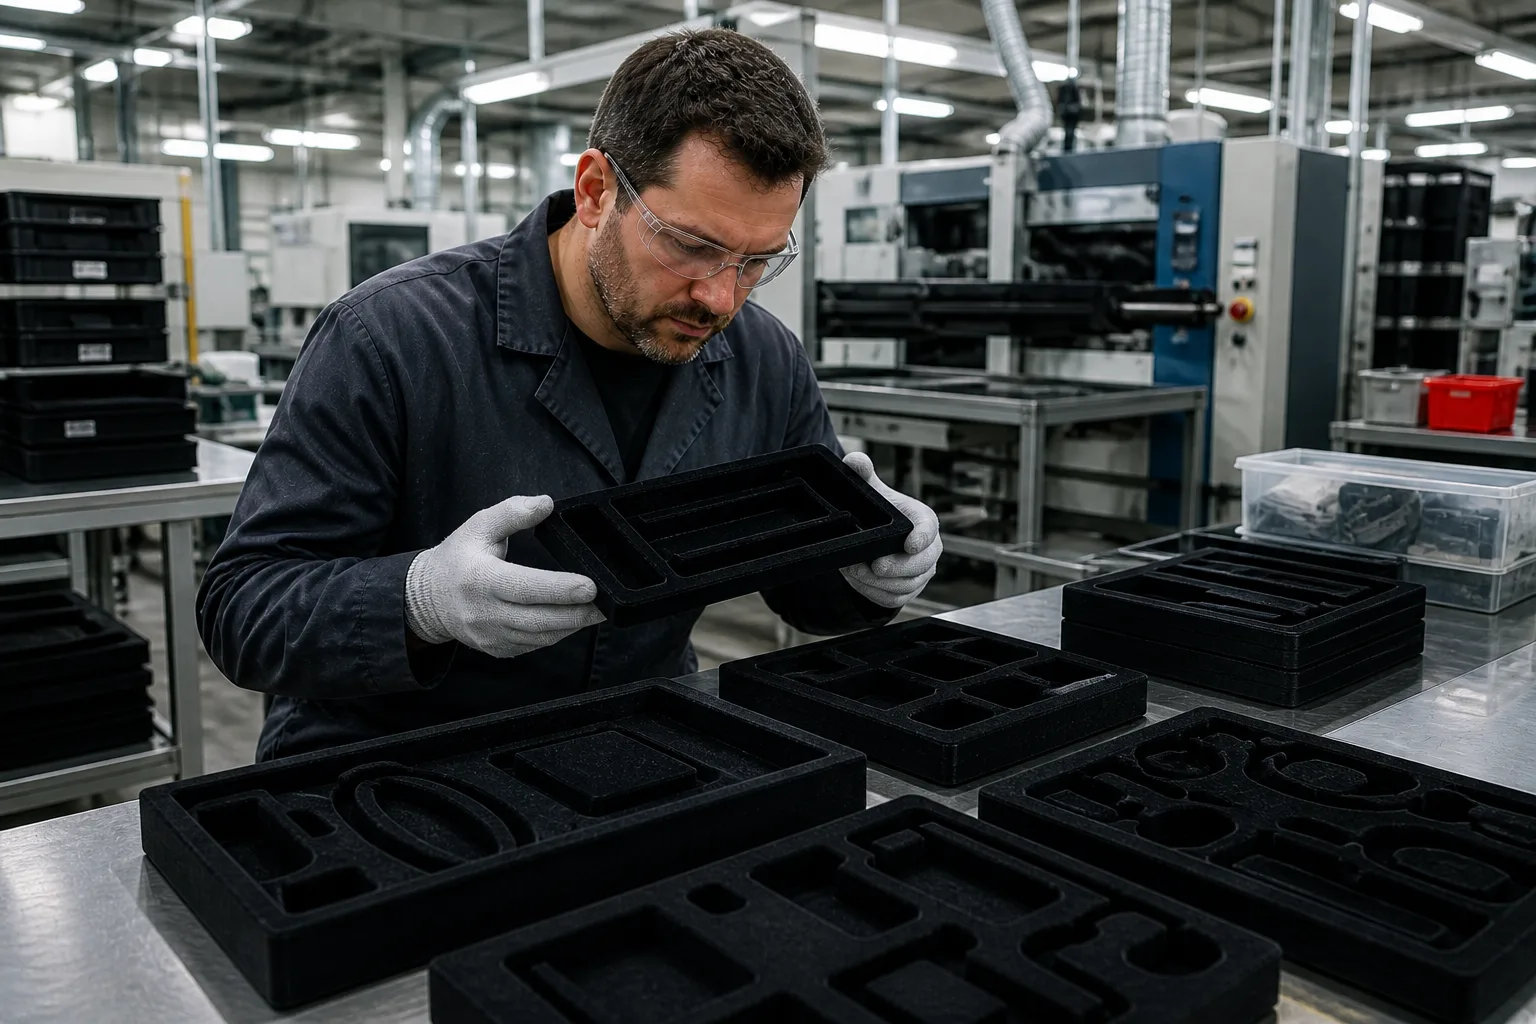
Brushing should be treated as part of the qualification test, not a cleanup step only. The brushing method, brush type, pressure, speed, and timing can change the result. Vacuuming, trimming, air blow-off, and packing should also be reviewed because they reveal weak fiber anchorage.
A cure and brushing trial should record:
| Process Step | What to Record |
|---|---|
| Drying method | Air dry, oven, heat tunnel, staged cure |
| Cure temperature | Actual part or oven temperature if available |
| Cure time | Time before brushing, trimming, and packing |
| Brush method | Manual, rotary, line brush, vacuum, air blow |
| Brush timing | Time after cure before fiber removal |
| Shedding result | Visual loose fiber, weight loss if measured, floor contamination |
| Hand-feel | Softness, stiffness, brittleness, roughness |
| Final inspection time | Immediate and post-rest review |
A flocking adhesive should be approved only after the part has passed the intended post-cure handling steps.
Shedding, Abrasion, and Post-Handling Retention
Visual coverage is only the first test. The more important question is whether the flock stays attached after realistic handling. Flocked parts may be brushed, packed, stacked, rubbed, inserted, removed, shipped, flexed, or touched by end users. Qualification should include the handling conditions that matter for the product.
Shedding can happen for several reasons: thin adhesive film, poor substrate wetting, wrong open time, premature brushing, under-cure, over-cure, fiber contamination, surface dust, or mismatched fiber length. Because the causes overlap, the trial should document each process variable.
Abrasion testing should be matched to the use case. A luxury packaging insert may need light touch and rub review. An automotive or rubber component may need more demanding abrasion or flex testing. A display tray may need repeated product placement checks. The test should not be exaggerated into a broad claim. It should reflect the customer’s approval standard.
Post-handling review may include:
- Brushing and vacuuming after cure
- Hand rub test
- Tape pull or internal adhesion check, if used by the plant
- Abrasion test based on customer requirement
- Flex check for rubber or flexible parts
- Product insertion and removal
- Packing line review
- Shelf or storage review
- Visual inspection under agreed lighting
The trial record should describe the test method. “Low shedding” means very little without a method, inspection condition, and acceptance limit.
Humidity, Storage, and Environmental Conditions
Humidity can affect both flock fiber and adhesive behavior. Some fibers may respond to moisture in storage. Adhesive open time and drying rate can also shift when plant humidity changes. In electrostatic flocking, humidity may influence transfer behavior and coverage consistency.
Storage conditions are also important. Fiber stored in open containers, adhesive held beyond recommended use time, or substrates exposed to humidity may all create inconsistent results. A plant may see strong results in one season and weak results in another if conditions are not controlled.
During qualification, record room temperature and humidity when practical. Also document how the fiber, adhesive, and substrate were stored before the trial. If the product will be made in a humid plant, cold plant, or seasonal environment, the trial should reflect those conditions as closely as possible.
Environmental records should include:
| Condition | Why It Matters |
|---|---|
| Fiber storage | Moisture and handling can affect transfer |
| Adhesive storage | Age and temperature can affect viscosity and application |
| Substrate storage | Moisture, dust, and surface changes can affect bonding |
| Booth humidity | May affect electrostatic flock transfer |
| Drying airflow | Can change edge drying and open time |
| Seasonal variation | Helps explain repeatability issues |
Environmental control does not need to be complicated, but it should be visible in the approval record.
Odor, Cleanup, and Production Practicality
Industrial qualification should include production practicality, not only bond performance. Odor, cleanup, pot life, viscosity stability, equipment build-up, and operator handling can all affect whether an adhesive is suitable for routine use.
Odor may matter for packaging, consumer-facing parts, automotive interiors, display components, or enclosed products. The right review depends on the use case. A simple plant odor check may be enough for some industrial parts, while a customer sensory protocol may be needed for premium packaging or interior applications.
Cleanup should also be observed. An adhesive that bonds well but creates heavy booth residue, clogged spray equipment, difficult roller cleanup, or frequent downtime may not be practical. Record cleanup time, residue location, and whether the adhesive remains stable through the shift.
Production checks should include:
- Wet adhesive odor during use
- Dry part odor after cure
- Closed-pack or closed-cavity odor if relevant
- Viscosity stability during the shift
- Equipment build-up
- Spray gun, roller, or screen cleanup
- Waste generated during setup
- Operator feedback
- Restart behavior after pauses
A balanced approval considers both performance and daily usability.
Supplier Documents and Buyer Review
Supplier documents help buyers compare materials and prepare internal approval files. They do not replace a line trial, but they are important for safety, quality, and purchasing review.
The TDS should provide practical product information such as appearance, viscosity range, solids content, recommended application guidance, storage notes, and shelf-life information where available. The SDS should be reviewed for safe handling, storage, transport, and workplace communication. Buyers should also request product labels, batch codes, sample identification, and production MOQ details.
Compliance documents should be requested only where relevant to the use case. REACH, RoHS, or FDA-related statements may be needed for certain customer files, markets, or product categories. These should be product-specific and scoped to the actual use case. Avoid treating document availability as a broad performance or compliance claim.
A buyer document checklist may include:
| Document | Purpose |
|---|---|
| TDS | Product properties and application guidance |
| SDS | Safety handling and hazard communication |
| Product label | Grade confirmation and batch tracking |
| Batch code | Traceability during trial and approval |
| Storage guidance | Helps prevent viscosity or performance changes |
| Shelf-life information | Supports inventory planning |
| REACH statement, if relevant | Customer or market restricted substance review |
| RoHS statement, if relevant | Electronics or customer-specific review |
| FDA statement, if relevant | Food-contact-related review only when the use case requires it |
| MOQ and lead time | Trial planning and purchasing approval |
The buyer should keep documents with the trial record so that quality, purchasing, engineering, and compliance teams are reviewing the same material.
Common Flocking Failure Modes and First Checks
Flocking defects often have more than one possible cause. A troubleshooting table helps the plant avoid changing adhesive chemistry before checking fiber, substrate, laydown, and cure conditions.
| Failure Mode | Possible Causes | First Checks |
|---|---|---|
| Patchy flock density | Uneven adhesive laydown, poor transfer, humidity variation | Film thickness, booth settings, grounding, spray path |
| Shiny bald zones | Adhesive skip, surface contamination, poor wetting | Substrate cleaning, surface energy, application coverage |
| Heavy shedding after brushing | Under-cure, thin adhesive, weak substrate anchorage | Cure time, coat weight, brushing timing |
| Fiber clumping | Adhesive too wet, excessive coat weight, poor fiber feed | Open time, film thickness, fiber flow |
| Poor edge definition | Spray overspray, weak masking, adhesive spread | Application method, mask quality, viscosity |
| Stiff hand-feel | Over-application, over-cure, wrong film flexibility | Coat weight, cure schedule, adhesive grade |
| Brittle surface | Excessive heat, unsuitable adhesive film, over-cure | Cure temperature, time, flexibility need |
| Poor retention on plastic | Low surface energy, release agent, no treatment | Cleaning, primer, corona or flame treatment |
| Odor after packing | Incomplete drying, enclosed storage, adhesive selection | Cure time, ventilation, closed-box review |
| Cleanup difficulty | Build-up, drying in equipment, poor process fit | Pot life, equipment settings, cleaning routine |
Good troubleshooting records make supplier conversations faster and more useful. Instead of saying “the flock is falling off,” the plant can say, “Shedding increased after rotary brushing at 45 minutes cure time on this rubber grade.” That level of detail helps identify the real correction.
Qualification Trial Record for Plant Approval
A flocking adhesive trial should produce a clear record. This record protects the buyer and supplier by defining what passed, what failed, and which process conditions must be preserved.
A practical trial record should include:
| Trial Item | What to Record |
|---|---|
| Product type | Tray, insert, profile, panel, molded part, display, or other item |
| Substrate | Material, grade, supplier, surface finish, treatment |
| Fiber | Type, length, denier, color, supplier, storage condition |
| Adhesive | Grade, batch, TDS version, SDS version |
| Application method | Spray, roller, screen, mechanical, manual, or hybrid |
| Coat weight | Measured value or application settings |
| Open time | Time from adhesive laydown to flocking |
| Flock method | Electrostatic, mechanical, or combined |
| Booth conditions | Voltage, grounding, humidity, fiber feed, if applicable |
| Cure schedule | Time, temperature, airflow, drying method |
| Brushing process | Timing, method, pressure, brush type |
| Retention result | Shedding, rub, abrasion, flex, or customer test result |
| Appearance result | Density, edge definition, color uniformity, hand-feel |
| Cleanup result | Residue, equipment condition, downtime |
| Approval limits | Conditions that must not change without review |
This record should be kept with the approved material file. If production later changes fiber, substrate, primer, booth settings, or cure schedule, the team can decide whether requalification is needed.
Field Evidence
A specialty producer reduced post-brush shedding and improved density uniformity on premium flocked inserts after matching adhesive laydown, cure discipline, and handling review. Read the flocking fiber retention case study for the field context.
Final Takeaway
Flocking adhesive qualification is not just an adhesive selection task. It is a process-window check that links fiber type, fiber length, denier, substrate surface, surface preparation, adhesive coat weight, open time, flock transfer, cure schedule, brushing, and post-handling retention.
A successful trial should show uniform visual coverage, stable edge definition, acceptable hand-feel, manageable cleanup, and retention after the handling steps the part will actually face. Before approving bulk supply, send the supplier the substrate, fiber details, part photos, application method, cure conditions, and expected handling test. The more complete the trial input, the more useful the adhesive recommendation will be.
Frequently Asked Questions
Why is flock density uneven across the panel?
Uneven flock density may come from uneven adhesive laydown, poor electrostatic transfer, weak grounding, unstable humidity, inconsistent fiber feed, substrate contamination, or adhesive drying before fiber application. Check the film thickness and application path before increasing flock time.
How do we test shedding?
Use a method that matches the product’s real handling. This may include brushing, vacuuming, hand rubbing, abrasion testing, flexing, product insertion, or packing line review. Record the method, timing after cure, inspection condition, and acceptance limit.
Does fiber type change adhesive selection?
Yes. Nylon, rayon, polyester, and specialty fibers can differ in stiffness, surface behavior, conductivity, and anchorage needs. Fiber length and denier can also change the required adhesive coat weight and cure window.
Why does flock shed after brushing?
Common causes include premature brushing, under-cure, low adhesive coat weight, poor substrate wetting, surface contamination, or a mismatch between fiber length and adhesive film depth. Review cure time and coat weight before changing fiber.
Can the same flocking adhesive be used on board, plastic, and rubber?
It should not be assumed. Board, plastic, and rubber have different surface behavior. Plastic may need surface treatment, rubber may need cleaning or primer review, and board may absorb adhesive quickly. Test the exact substrate before approval.
When is primer, corona, or flame treatment needed?
Surface treatment may be needed when the substrate has low surface energy, poor wetting, release residue, or weak adhesion during trial. The correct treatment depends on the material, part design, production method, and customer requirement.
What should be recorded during a flocking adhesive trial?
Record fiber type, length, denier, substrate grade, surface preparation, adhesive grade, coat weight, application method, open time, flock transfer method, cure schedule, brushing process, shedding result, appearance result, odor, cleanup, and supplier documents.
Does humidity affect flocking results?
Yes, humidity can affect adhesive drying, fiber condition, and electrostatic transfer. During qualification, record plant humidity when practical and keep fiber, substrate, and adhesive storage conditions consistent.
What supplier documents should buyers request?
Buyers commonly request the TDS, SDS, product label, batch code, storage guidance, shelf-life information, MOQ, lead time, and any customer-required REACH, RoHS, or FDA-related statements when relevant to the use case.
When should a flocking adhesive be requalified?
Requalification is recommended when the fiber type, fiber length, denier, substrate, surface treatment, adhesive application method, coat weight, booth settings, cure schedule, brushing process, or customer test requirement changes.
Qualify flock bond on your substrate
Request complimentary 1 kg lab material (shipping prepaid by recipient) after screening your fiber type, substrate surface, adhesive application method, cure window, brushing process, and line conditions.
References
Technical Disclaimer: All technical data is based on standard laboratory conditions. Users should perform their own verification testing to confirm suitability for specific substrates, processes, and regulatory requirements. Senda Glue makes no warranties, express or implied, and assumes no liability for improper use of the products or reliance on this information.